Diffusers
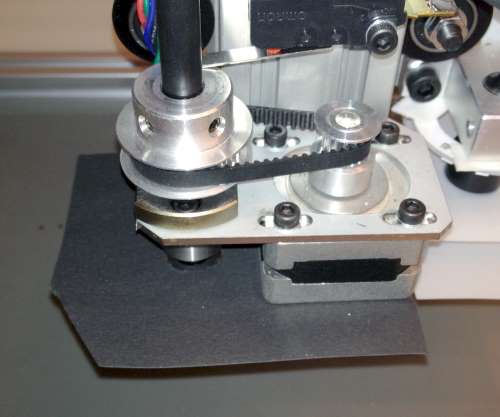
It is important that the light from the LED rings is even. for this, a sheet of diffuser material is included. Here is a picture from my prototype:
You can see the white diffusers. Cut two pieces, something like these (you might want to try with a sheet of ordinary paper first). To help for these, here is a customer supplied design (DXF file) for a template and a PDF for the same (thank you very much!). If you want to design your own, here is an outline of the parts around the camera. There is the camera holder (showing the hole you need to cut for the camera), and the Z axis extrusion and the edge of the motor holder plate. The latter move, so you want to have some clearance to them.
Attach one SCCN10-x shaft collars to the down looking camera, put in one diffuser sheet and put another shaft collar on the camera. The upper diffuser sheet stays in place between the collars. Put in another diffuser in the same way. Two diffusers a shaft collar apart should give you good results.
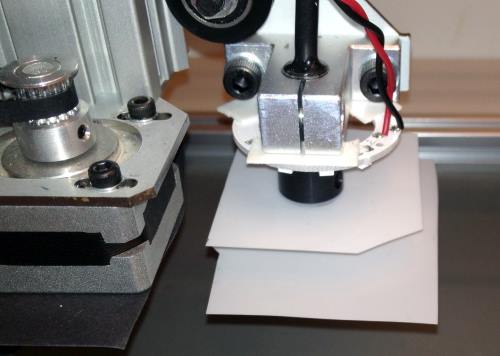
The up-looking camera benefits from a diffuser, too. I didn’t need more than one.
Nozzle Shade
We need to hide the tube attachment parts from the up-looking camera; the camera should see only the nozzle tip. The above link for customer supplied template has one for this too. Here is mine: