Before starting the belting of the machine, check that the X motor is attached to the plate so, that it can be turned around the round mounting hole, but there is not much play on screws in the slotted holes. Turn the motor away from the bar to the end of its movement. Place the 20 teeth 5mm bore pulley to the X axis motor, base up, teeth side down. Do not tighten it yet.
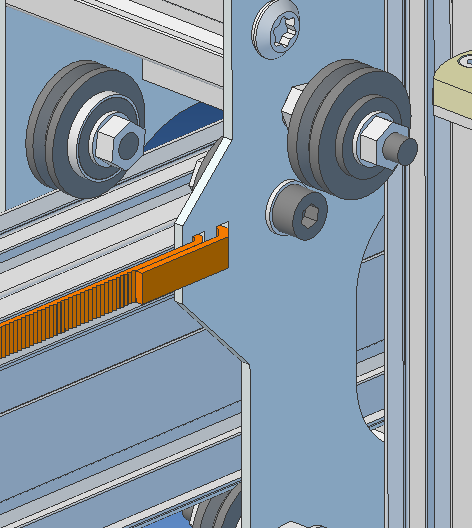
Attach one end of the belt to the left side of the gantry as shown. Orient the toothed side of the belt forward, getting the teeth together at the fold. Secure this with zip ties. (The belt is black, but drawn in orange for illustrations.)
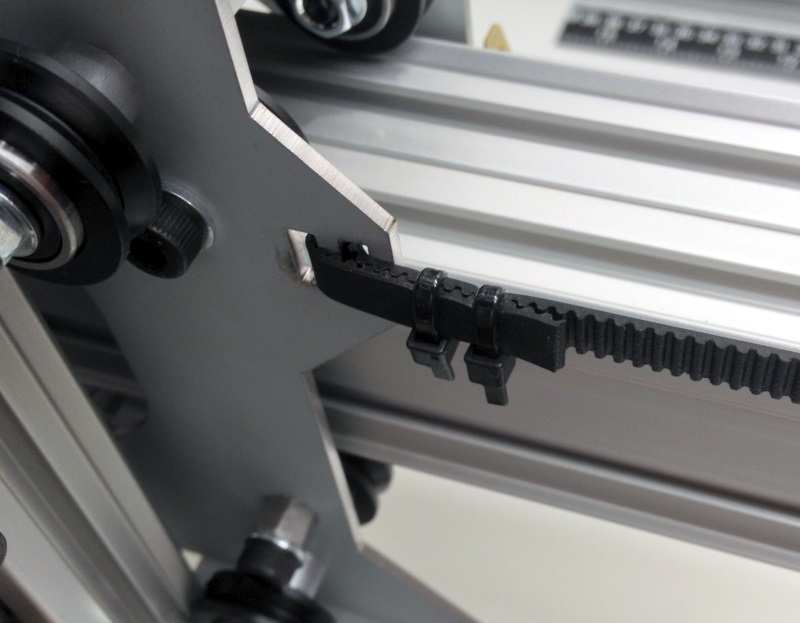
Here is a photo about the zip ties:
Run the belt around the idler wheels at the left side (not shown). Route the belt as shown.
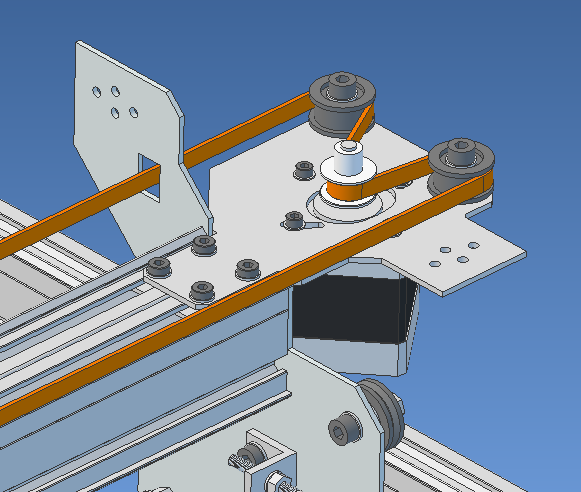
Push the motor towards the gantry.
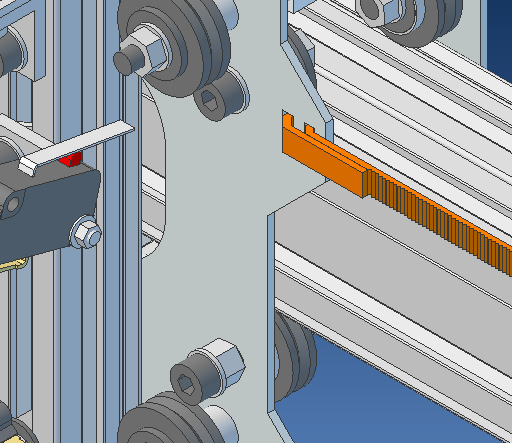
Fix the other end to the right side of the gantry, cut to lenght and secure with zip ties.
Tighten the belt by turning the X-motor and tighten the motor mounting bolts. The belt should be fairly tight but not overly so. You want the motor to get a good control of the belt but without creating extensive tensions to the machine.
Move the gantry back and worth a couple of times to make the pulley to set at correct height. Note the slot on the motor axis; make sure one of the screws is aligned to that; if not, move the gantry a little. Tighten the pulley set screws.